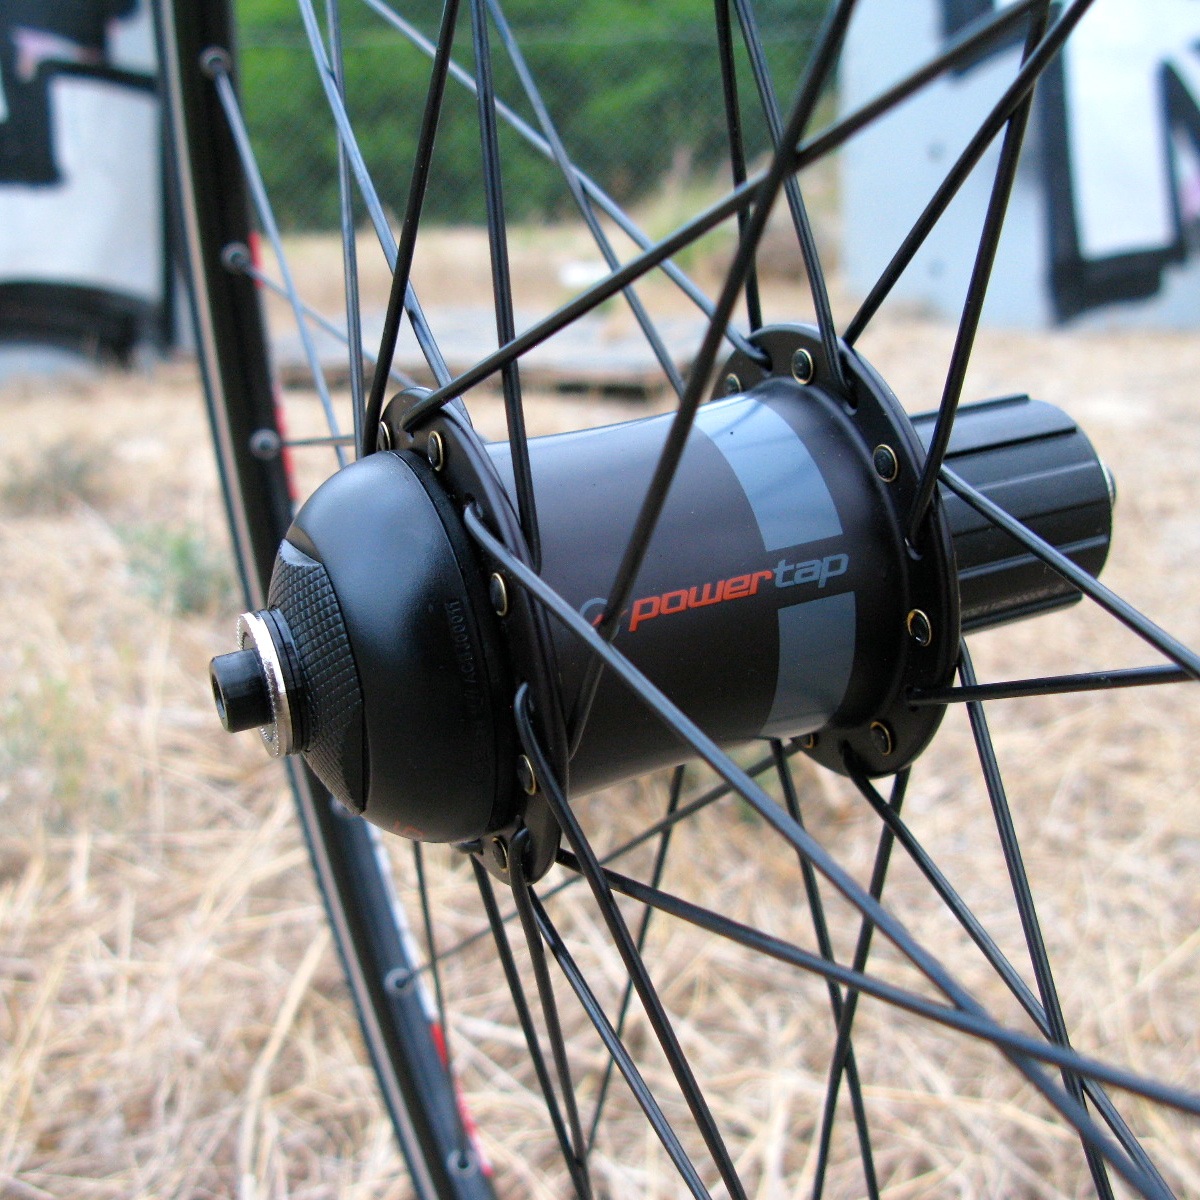
Todd recently asked me to build him a Powertap wheel with components which he had supplied. Powertap wheel builds are unusual for a number of reasons. Firstly the hubs torsional force is driven from the non-drive-side (left) flange. Secondly, the flanges are much higher than most road hubs at 57mm. Finally, the centre to flange spacing (width) is heavily skewed to the left to accommodate the internal power-meter. The consequences of this last feature are the most significant for wheel builders. With an 11sp freehub body on the hub, the drive side centre to flange measurement is limited to 17mm while the non-drive flange is way out at 38mm. As a consequence of this design, the spoke tension ratio is likely to be very uneven with low spoke tension on the non-drive side spokes. This is a major problem if the wheel is going to stay true over time. So from a wheel designers perspective, how can we get around this problem? Generally when building up Powertap hubs I recommend considering a number of things: 1) consider an asymmetric rim to improve the spoke angle/tension ratio, 2) look for a stronger rim than can handle higher tension, and 3) consider a different lacing pattern to improve the spoke tension ratio. With Todd’s 32 hole DT Swiss RR465 rim, the rim was rated to 120kgf so it could handle a decent amount of tension, however to improve things further we chose to 2-cross drive side, 3-cross non-drive lacing pattern to improve the tension ratio between the non-drive and drive side spokes. An extreamely not to scale diagram of the different lacing patterns goes something like this.
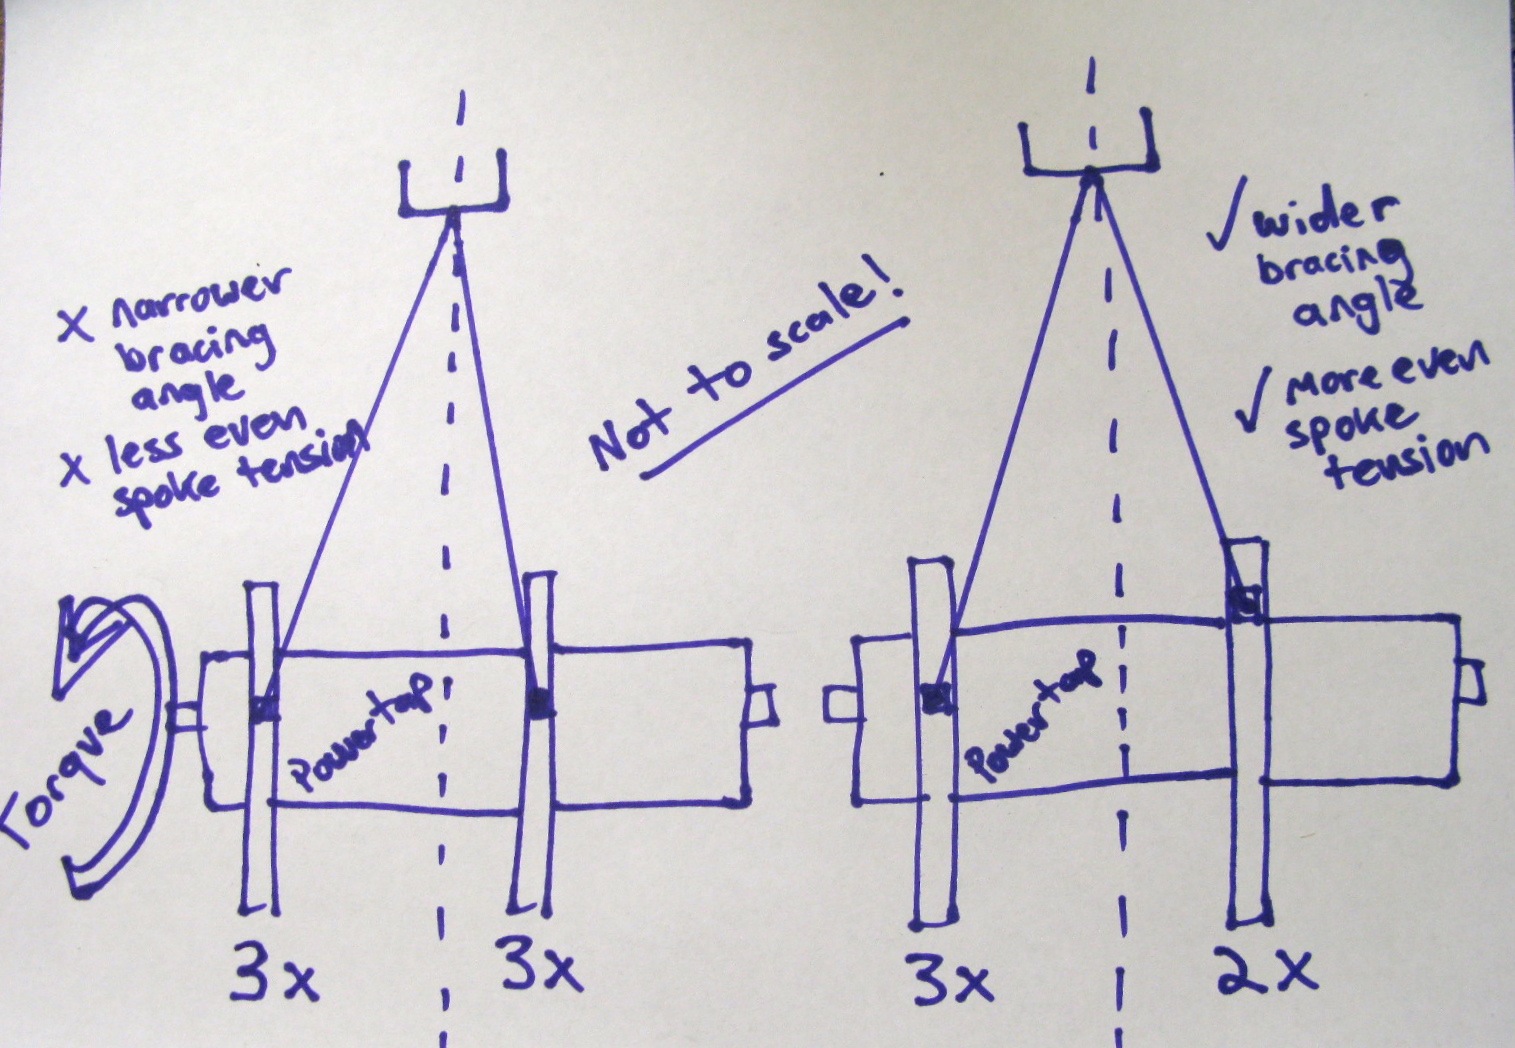
Note that when you change the lacing pattern, the position of the spoke holes also changes, and this has a direct affect on the angle that the spoke travels from the flange to the rim. This phenomena is further exaggerated on a large flange hub because the distance between the spoke holes is much greater. Also, because the Powertap hub uses torsional force from the non-drive side flange, there is no loss of torsional strength in lacing the drive side spokes 2-cross. As an added bonus,the bracing angle also widens to increase the wheels lateral stiffness. It would have even been possible to lace up this wheel 3-cross non-drive and 1-cross drive-side (elbows out) to even further improve the spoke tension ratio and bracing angle. However, 1-cross tends to work best on lower spoke count hubs otherwise the spoke elbows will rise too sharply at the first cross. There is also the risk that when you push the spoke elbows of a round spoke too far outwards towards the cassette body, the chain can accidentally over-shift and catch the drive side spokes. In an ideal world with a proper rear derailleur setup, this should never occur, however the 2-cross drive, 3-cross non-drive side lacing pattern is a better option as it provides just a little bit more clearance from the cassette. If the dynamics of wheel design are of interest, consider registering for the Melody Wheels wheel building course.
Rim: DT Swiss RR465
Hub: Powertap G3 (32h hole)
Spokes: Black DT Competition (double butted)
Nipples: 12mm brass DT nipples Black
Pattern: 2-cross drive, 3-cross non-drive