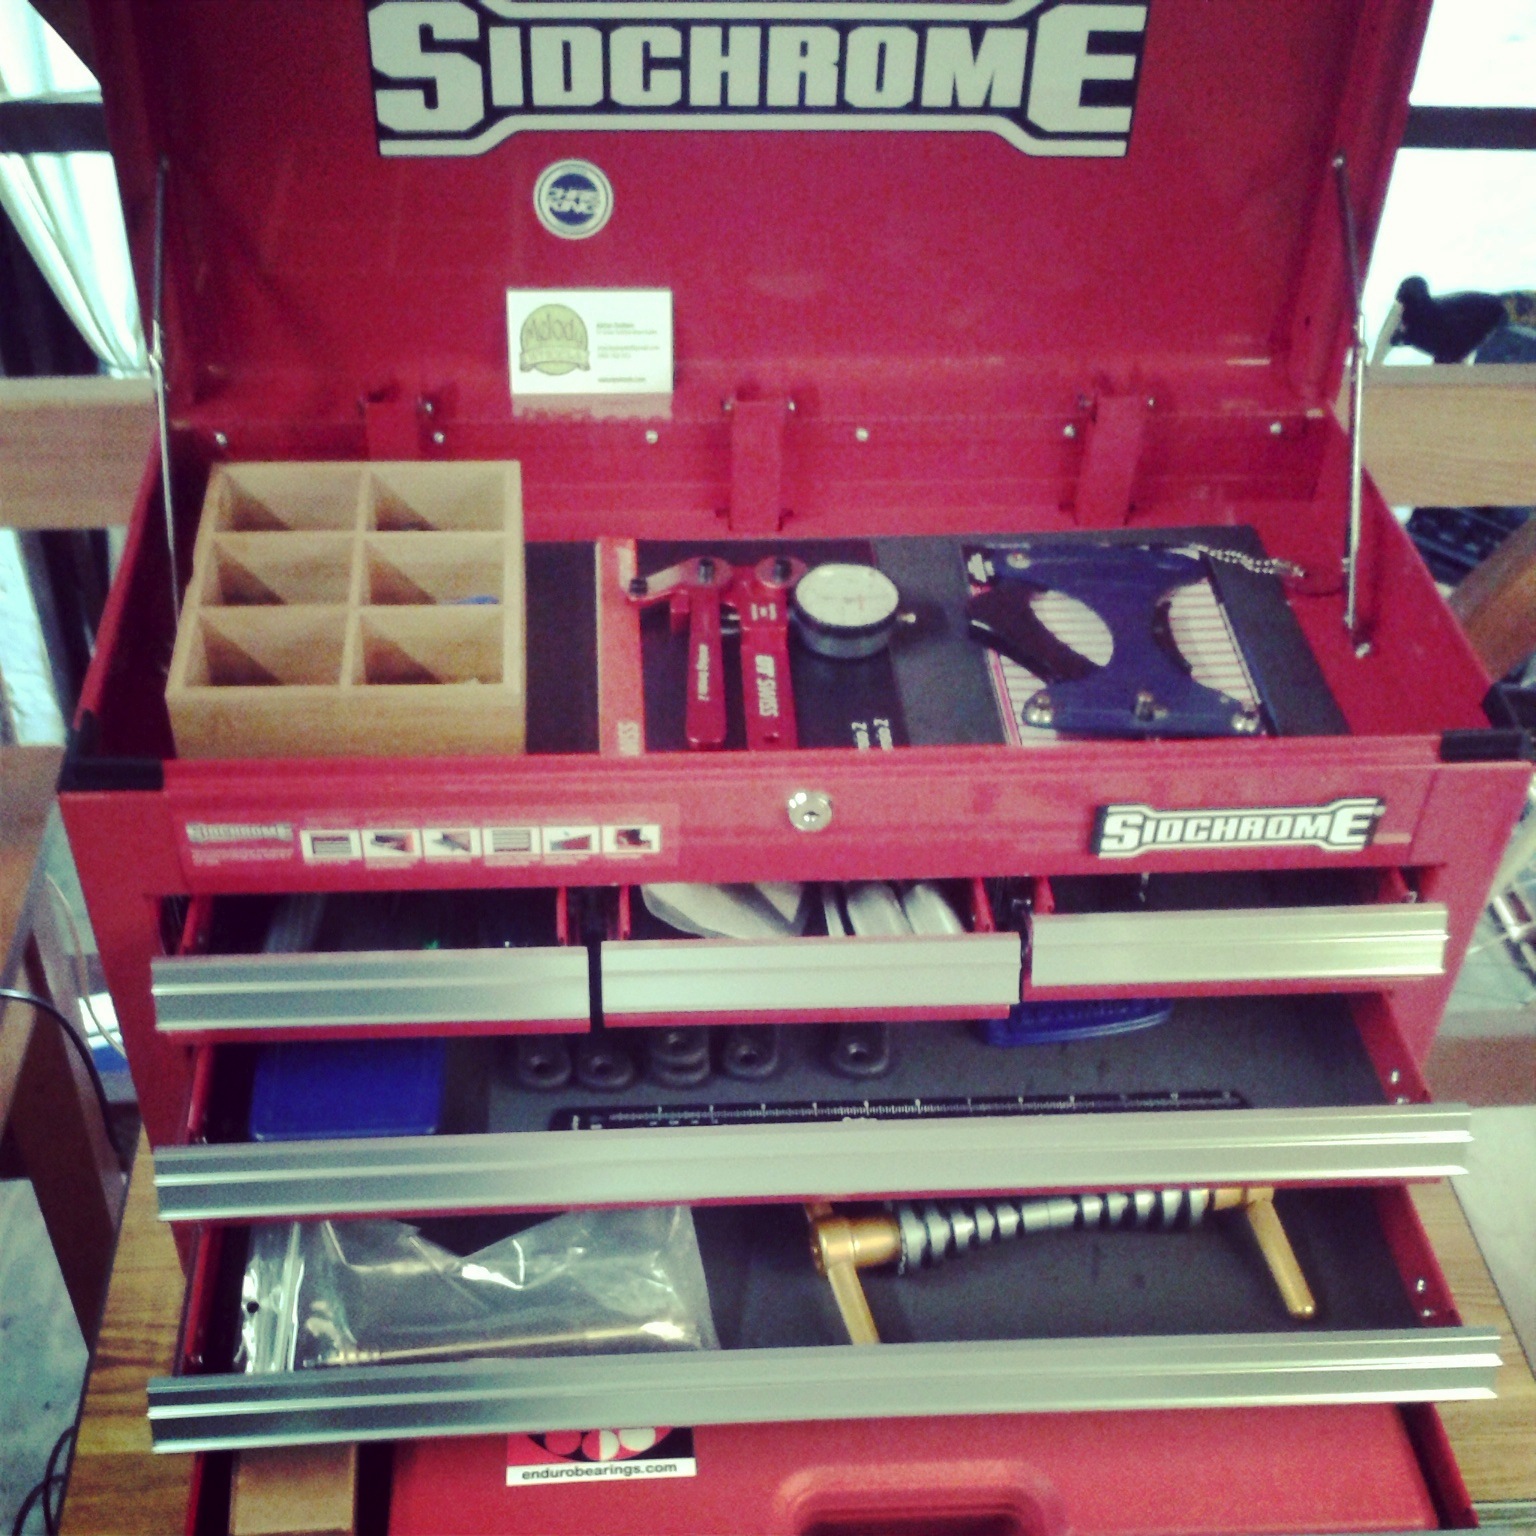
Lately I’ve been thinking a lot about the wheel building tools that I own and the ones that I wish to acquire. Good tools have a certain allure, fascination, and fetish like quality. Look at a vintage Campagnolo tool box and you’ll know why. Good tools are a thing of beauty even if their only purpose is to perform a given task. The question then is: do you need the best tools to build the best wheels? As always there is a little bit of yes and no. Tools matter, but there not the whole picture. Perhaps the more important question is how do tools aid or detract in the process of wheel building. Here are some observations from tools that I own and/or have experience with.
Spoke wrenches
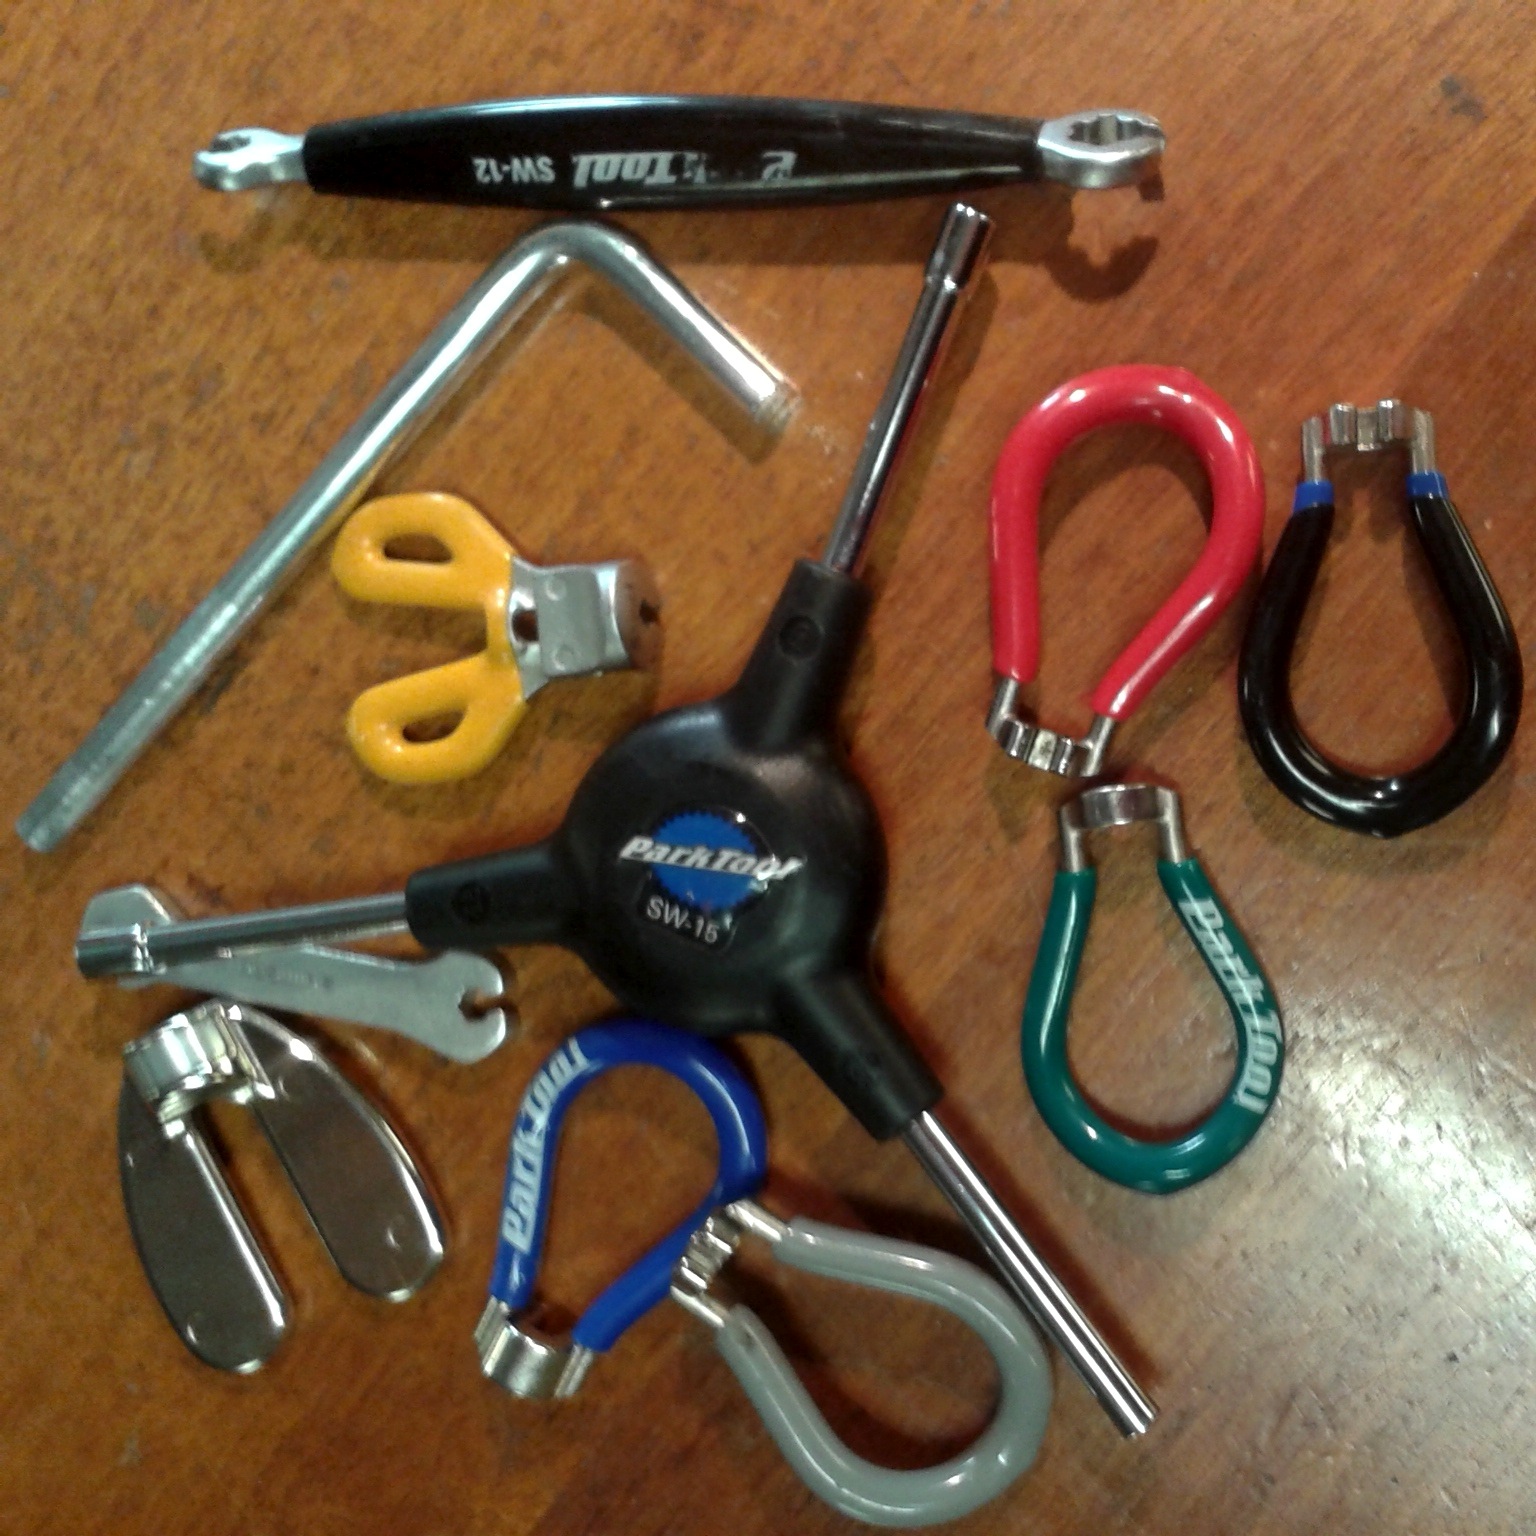
The spoke wrench (or nipple wrench) is the primary tool for wheel building. It doesn’t take long to build up a collection of spoke wrenches because there are so many different types of nipples out-there. The three most common sizes for spoke wrench sizes are 3.23 mm, 3.30 mm and 3.45 mm which will work on the majority of bicycle wheels. There are also a number of proprietary spoke wrenches that are designed to work with specific wheel systems (e.g. Shimano, Campagnolo, Mavic). On standard nipples I always use a 4 sided spoke wrench instead of a 3 sided wrench because it provides the maximum level of engagement with the nipple. It takes a fraction of second longer to slot the wrench over the nipple but it greatly reduces the risk rounding off the nipple flats. My favourite spoke wrench is the Park Master Spoke Wrench SW-20 4-sided spoke wrench. I like the fact that this spoke wrench aligns squarely with the nipple rather than diagonally. This allows me to align the wrench flats so I know that every ½ or ¼ turn is consistent. It is heavy in the hand and has a wide flat profile which makes it easy to visually grasp even the smallest truing corrections such 1/8th of a turn.
Truing stand
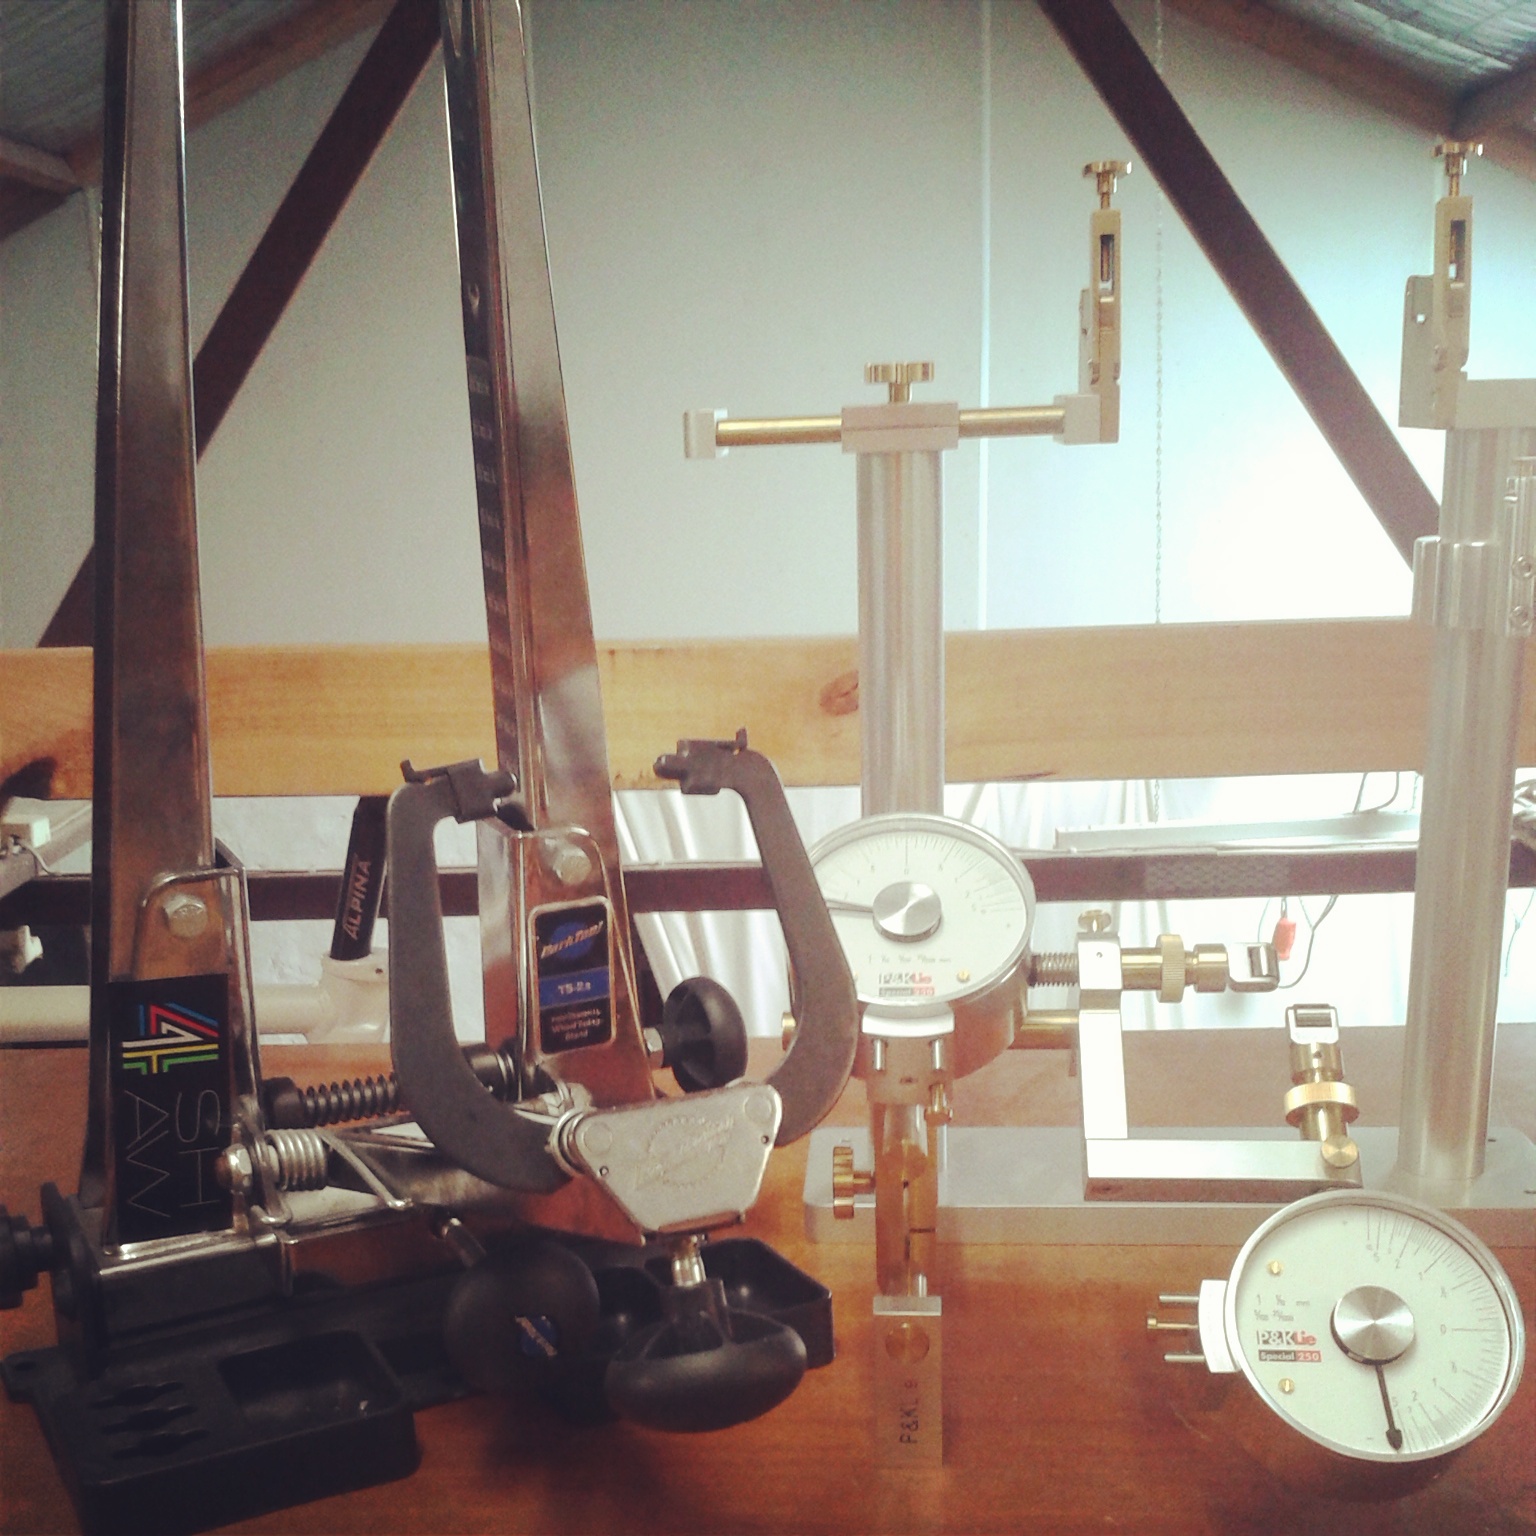
It’s possible build a wheel with an upside-down fork, however the truing stand is arguably the most iconic wheel building tool. The Park TS-2.2 is the industry standard at least in Australia and North America. The TS-2.2 works well and it is extremely easy to use (this is probably why it is so popular in shops). Some of the fall-backs with the stand include that in that it doesn’t come with a secure base which means you either have to drill it into a workbench or mount it onto a plastic base (or something else). Older versions such as the Park TS-3 werea lot more solid in their design with all metal parts. The TS-3 also came with in independent gauge to visually observing radial true. The DT Swiss Truing Stand is another exceptionally high quality truing stand as is the Centrimaster Classic truing stand. Possibly the most exceptional truing stand is the P&K Lie which I recently purchased. All of these high quality truing stands use analogue dial indicators to speed up the truing process, reduce eye stress, and allow the wheel builder to document the exact trueness of the wheel. High-end truing stands are a fantastic thing to build wheels with but they are not essential equipment. The skill of the wheel builder is far more important than the truing stand that he or she uses.
Dishing tools
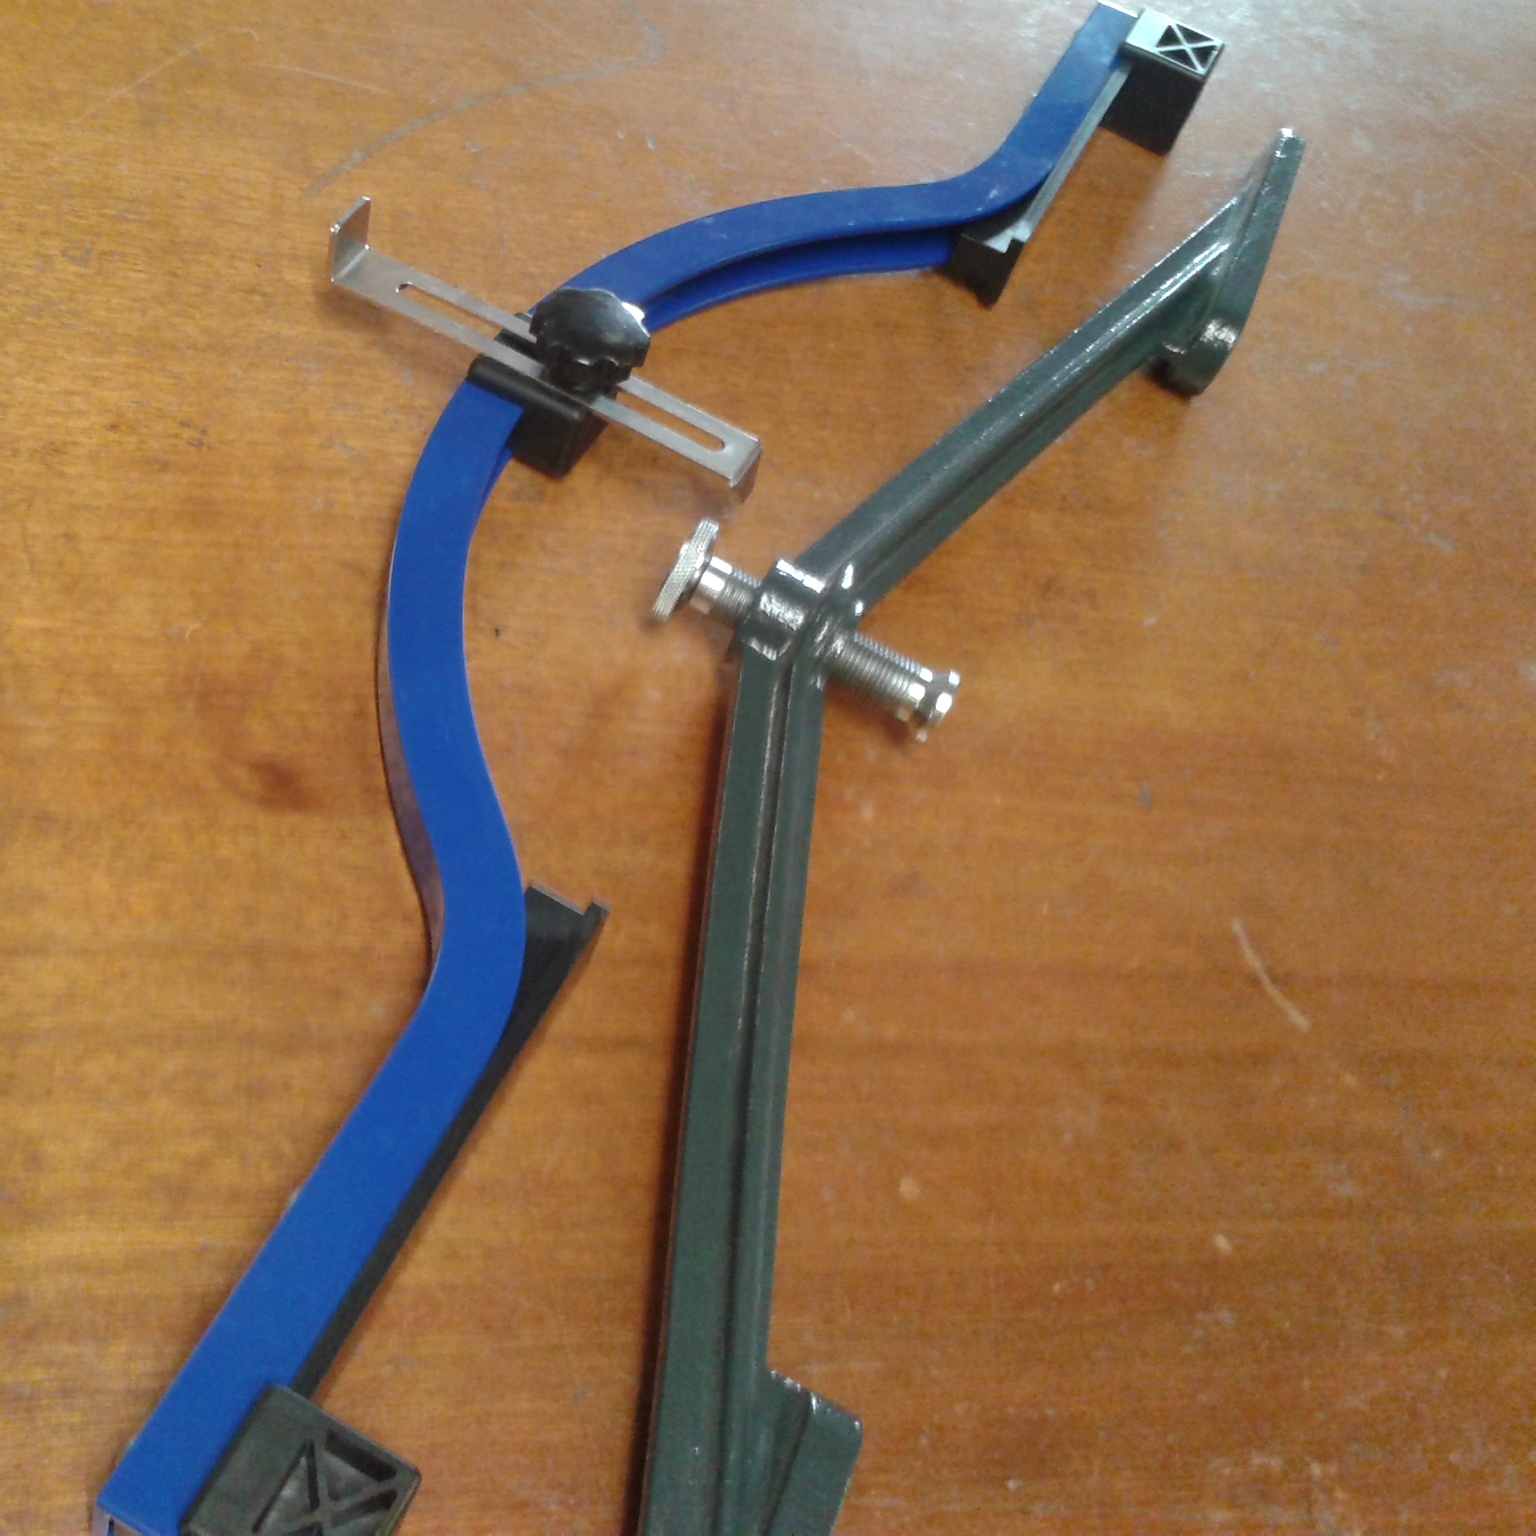
A dishing tool is simply designed to measure an equidistant alignment between the rim and the hub. Checking for dish is something that you need to do regularly when wheel building otherwise you may find yourself in all sorts of trouble. I use a Cyclus dishing tool most of the time. Its solid and easy to use. I also use the Park WAG-4 which has sliding blocks that allows you to measure dish with tyres on. It does the job well however it has some parts that feel a little flimsy. If there is one main advantage with the WAG-4 is that it can be used to check dish while the wheel is in the truing stand if you are using at Park TS2.2 truing stand. The sliding blocks can also help to check dish on rims that have toroidal shape. Efficient Velo Tools (EVT) make the clever one handed Trigger Dishing Tool to speed the process up. The Wheel Fantayk wooden dishing tool is another beautiful dishing tool that you can purchase.
Nipple Drivers and spoke feeders
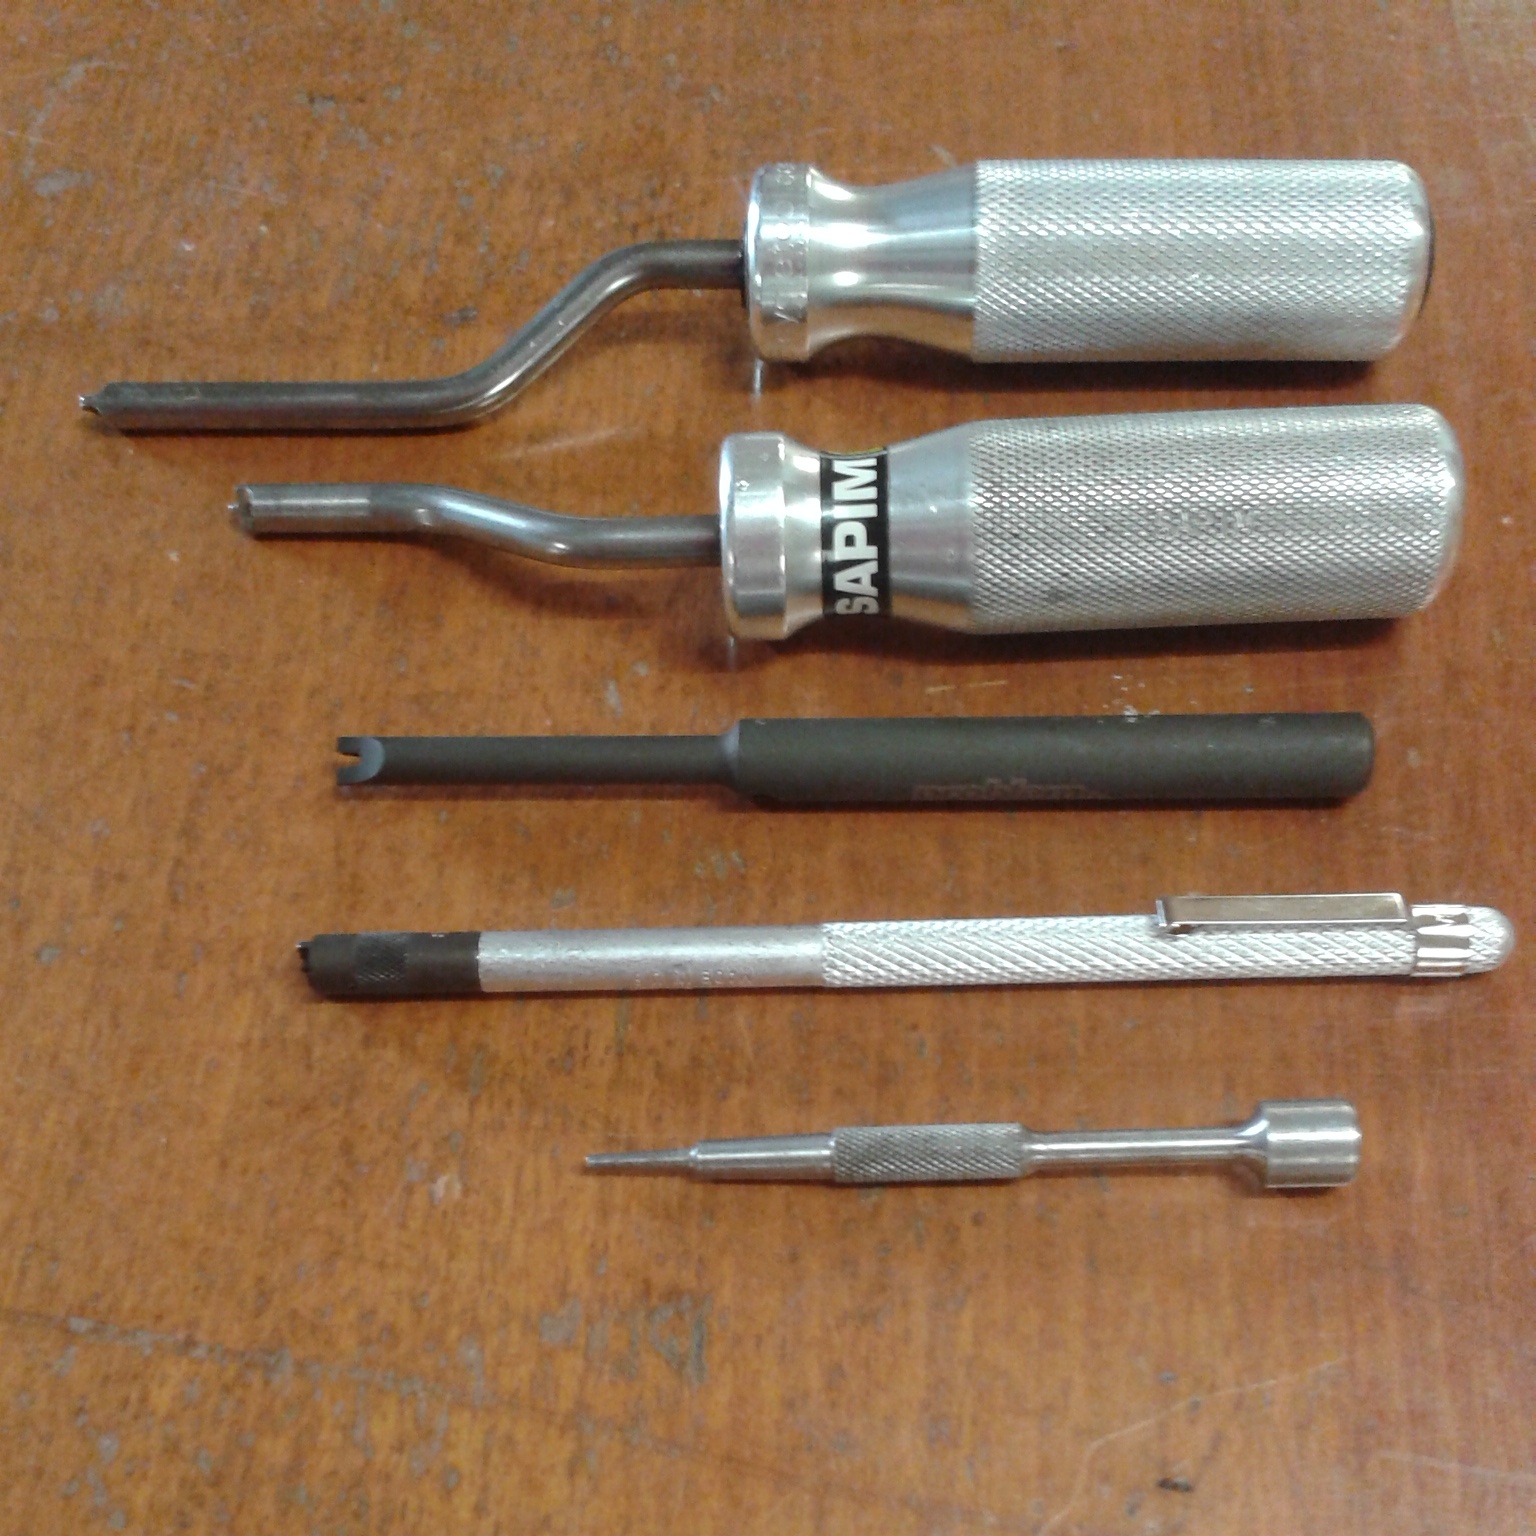
The nipple driver is essentially a screwdriver that has been modified to wind nipples onto the spoke. I use a Sapim nipple driver. Some nipple drivers are longer than others depending on the depth of the rims. The Wheels Manufacturing Aero Rim Nipple Driver is an excellent spoke feeding tool that locks the nipple onto the tool so you can lace up deep section rims. For the more common shallow and mid-sectiom rims, the EVT Mulfinger is the best tool I’ve found for the job. It holds the nipple with just enough friction the thread the nipple onto the spoke quickly. It has almost doubled the speed in which I can lace wheel.
Tensiometer
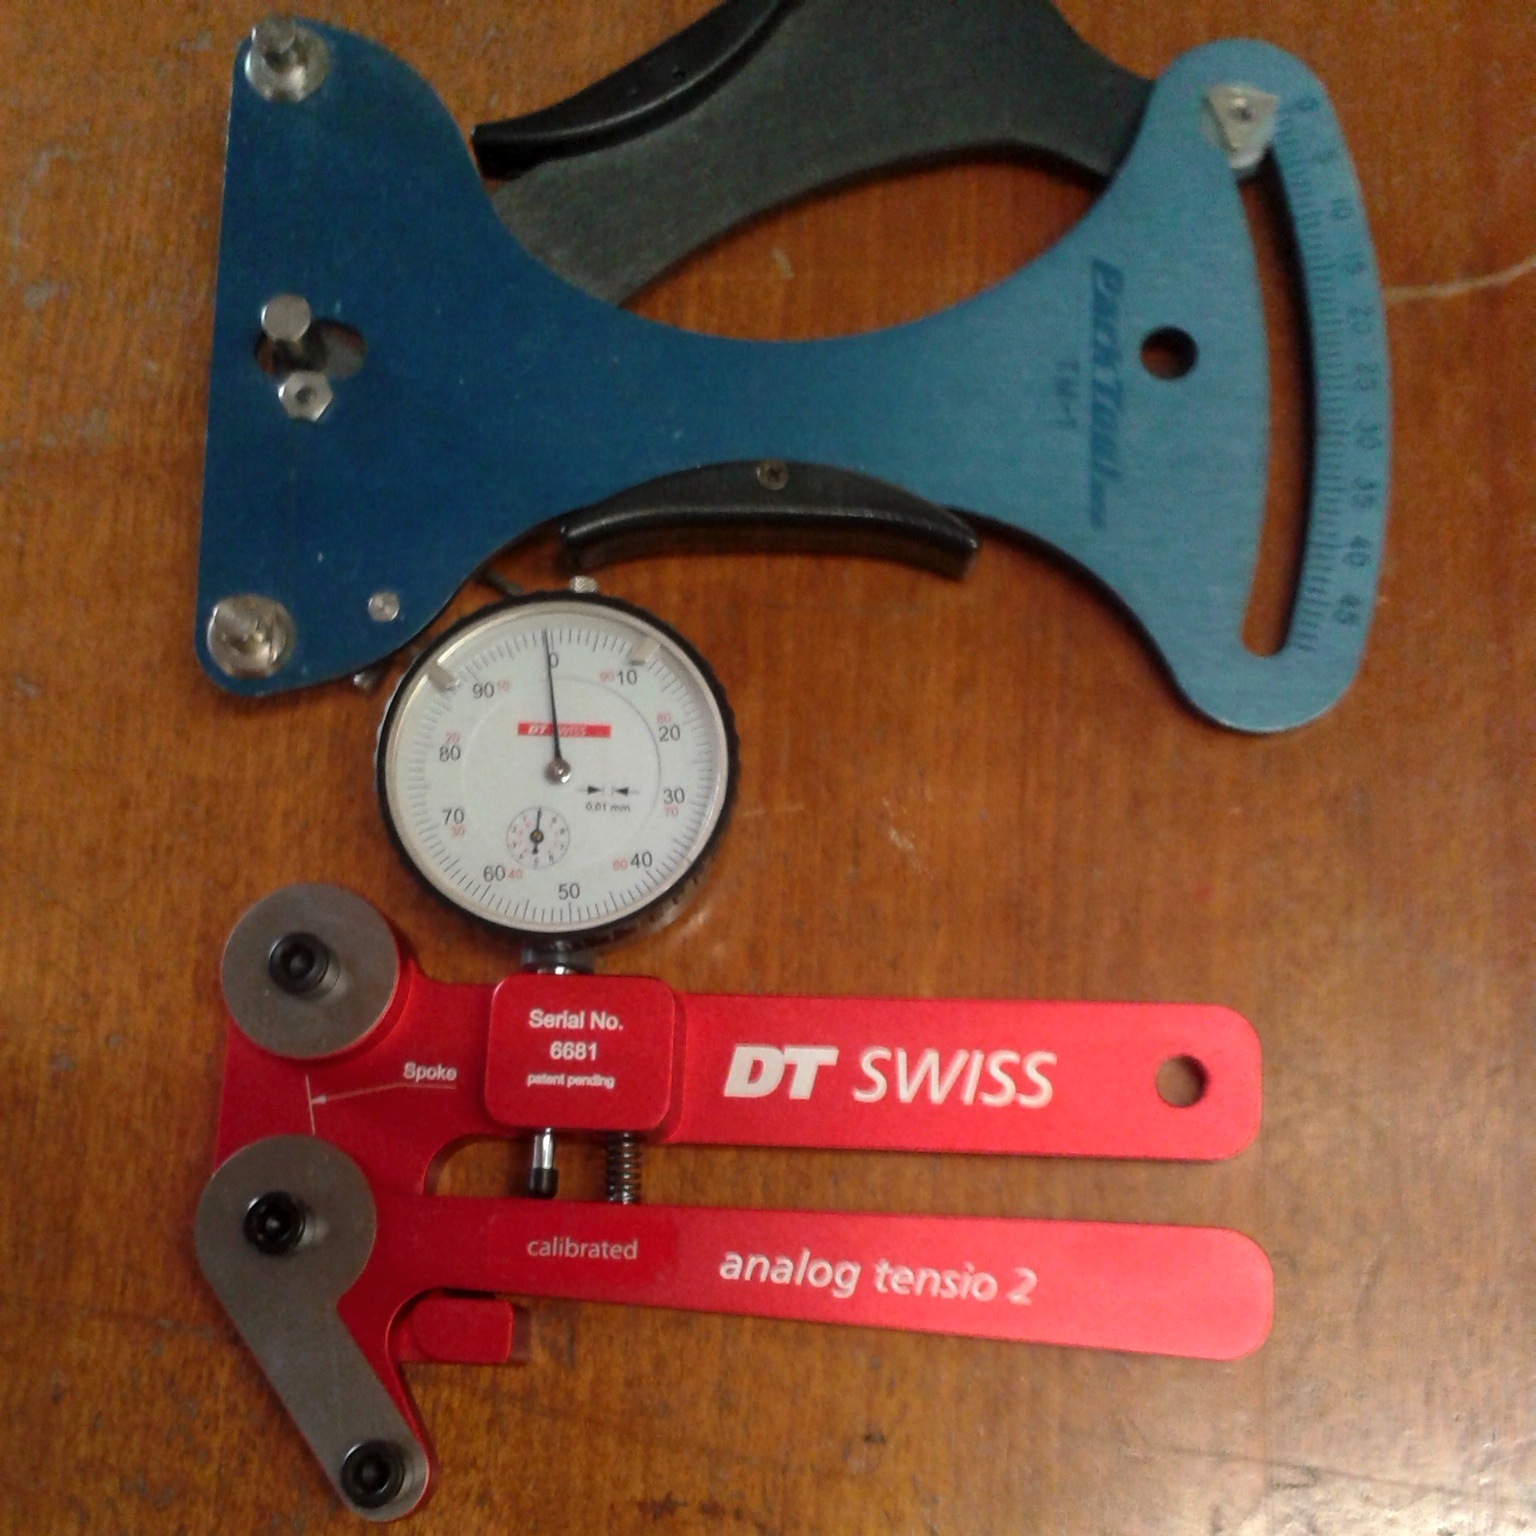
The Tensiometer is arguably the most important wheel building tool. The Tensiometer gives you direct insight into the structure of your wheel including optimum and even spoke tension. While some mechanics go by ‘feel’ this leads to a lot of errors. As Gerd Scharaner confesses in The Art of Wheel Building:
I worked for years without a tensiometer, being under the false impression that instinct and experience were enough. Then I bought one of the first HOZAN tensiometers on the market and started making comparisons. Shamefacedly I had to admit that my super instinct was not so super after all. Even my mood on a particular day gave different results. Since then I work with a tensiometer and it is always at hand next the truing equipment.
I use the Park TM1 which is a shop standard tensiometer. It comes with a very easy to use conversion chat to allow you to gauge the tension in the wheel. When using the Park TM1, I’ve found that it’s important to gently release the tensiometer onto the spoke. If you release too quickly, the spring recoil can throw the accuracy of the reading out. I also use the DT Swiss tensiometer which is far more accurate but expensive. I use the DT Swiss tensiometer mostly to check the final tension in the wheel. Tensiometers are calibrated measuring tools. Like a torque wrench, they need to be treated with great care and should be recalibrated often to ensure the accuracy of measurement.
Wheel measuring tools
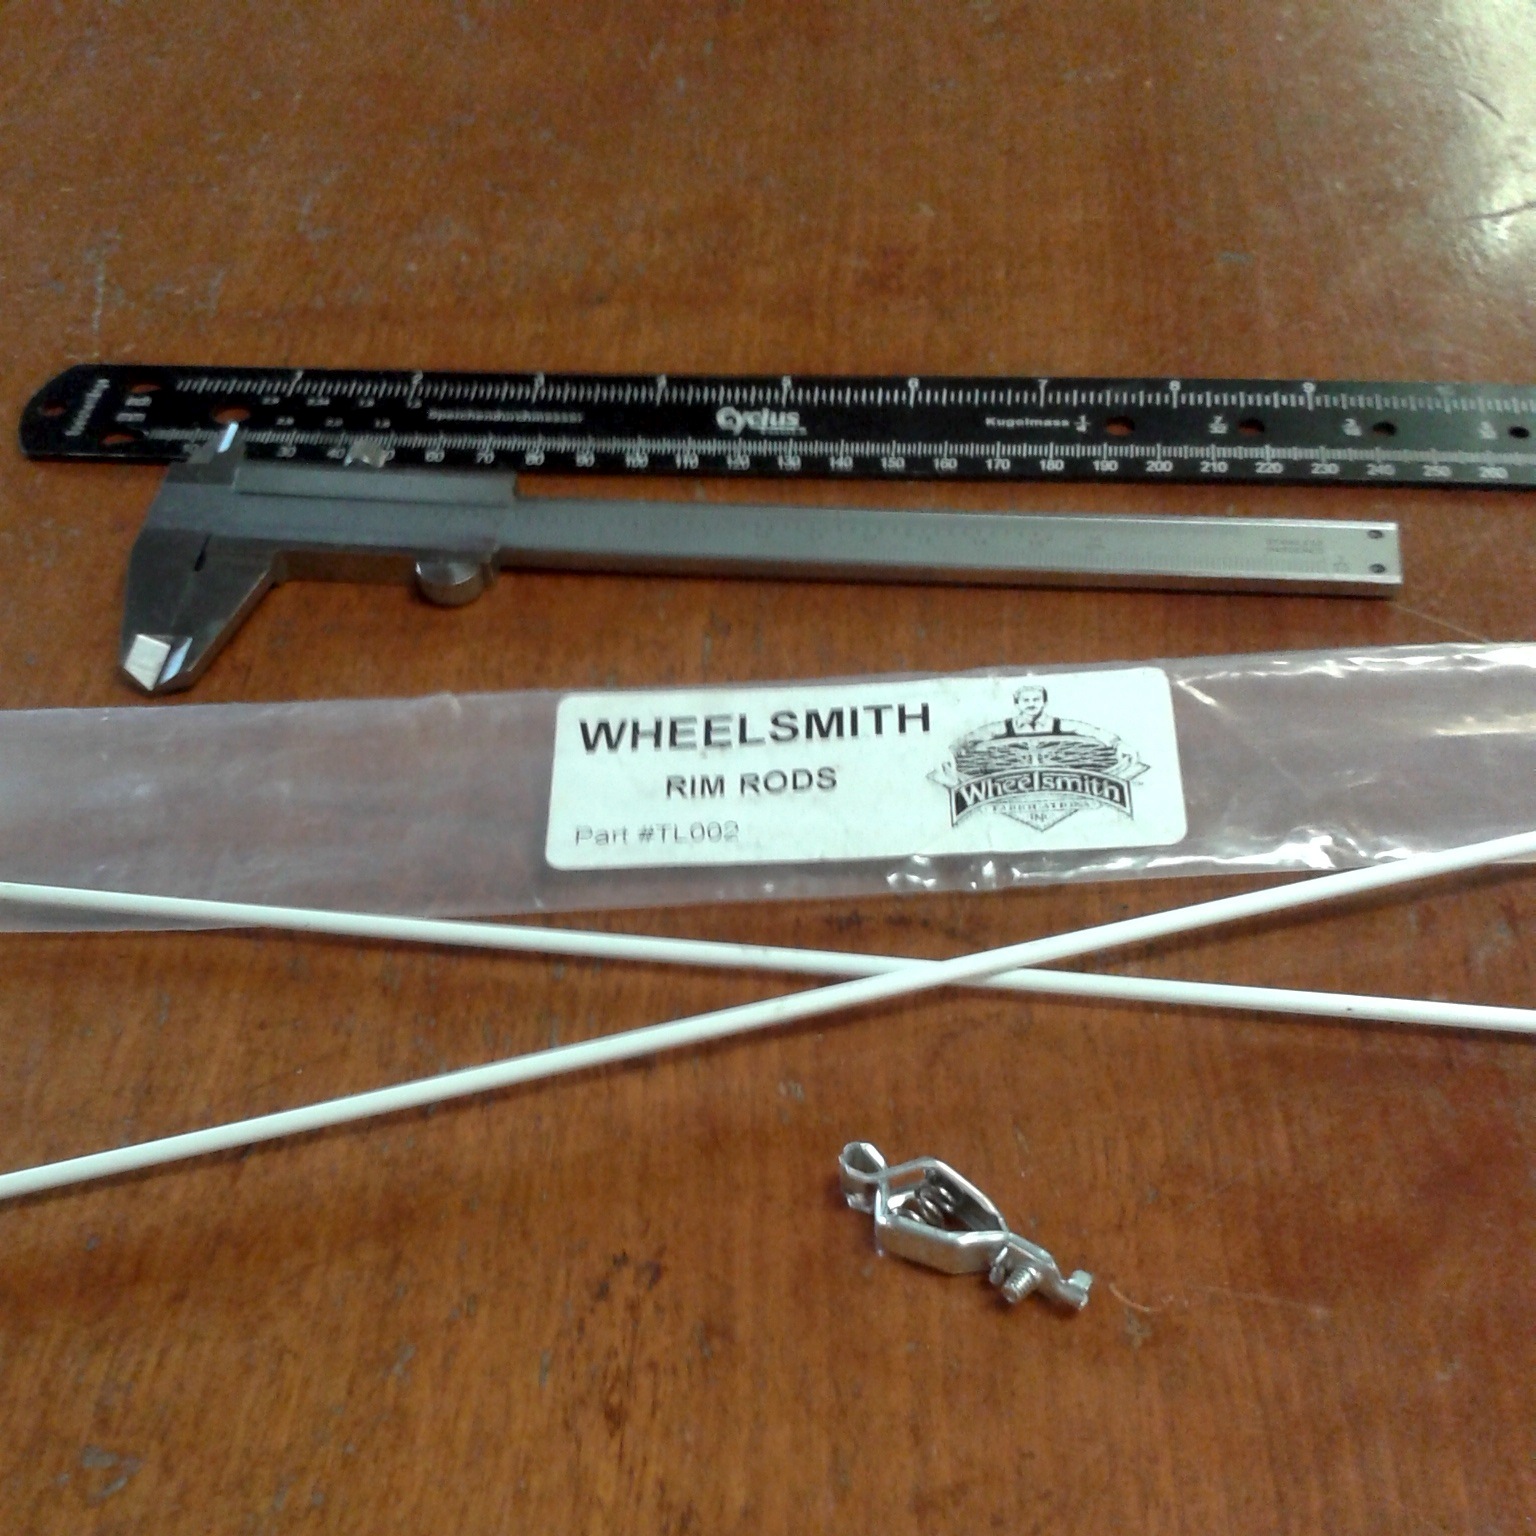
Last but not least are wheel measuring tools which include vernier callipers for measuring hubs and spoke rulers for checking spoke lengths. In my experience the most important measuring tool are rim rods which are manufactured by Wheelsmiths. Rim rods allow you to measure effective rim diameter (ERD) with great accuracy. They work through clipping the two rods together through opposite spoke holes on the rim then measuring the overlap. The ERD is exactly 700mm minus the length of the overlap. While ERD is commonly published by rim manufactures, there are often differences in production that can lead to variations between rims so it’s best to measure it yourself. I’ve found it common that some manufactured get the published ERD wrong almost all the time while others are far more consistent. I measure rims four times to get the average ERD. This is also a good way to check the quality and roundness of the rim. You don’t want to waste time building a dud rim. There are of course other measurements that need to made when calculating spoke lengths but ERD is the most critical. Get it wrong and your spokes may too long or too short. You’ll have start building the wheel again. Even amongst the most experienced mechanics, incorrect spoke lengths are often a major problem because of an over-realiance on published rim measurements. Rim rods greatly reduce the chance of making the wrong calculation. As the saying goes ‘a measurement is worth a thousand opinions’.